It is possible to connect in via Virtual Desktop Infrastructure (VDI) to remotely send plots to the Design Studio plotter.
These plots will then be left on or beside the plotter for collection.
This lightweight VDI does not have all the applications on it so you should prepare the files you need as PDF files and upload them to your OneDrive (or other cloud) space; just use this VDI for printing.
Please ensure your PDF files are:
- Correctly sized pages and artwork – at real world dimensions
- Suitable resolution images
- For large, complex, multi-layered PDFs consider clicking the ADVANCED – PRINT AS IMAGE option to avoid errors in processing.
- Crop marks are very useful
- Spellchecked, etc.
These are the paper types available on the plotter for A2/A1/A0
- Standard Paper : Coated Paper (120 GSM) – £1.00 / £2.00 / £4.00 (Q1)
- Premium Heavyweight Paper (180 GSM) – £1.50 / £3.00 / £6.00 (Q3)
- Polyester Film (tracing paper) (90 GSM) – £2.00 / £4.00 / £8.00 (Q4)
- Wallpaper Non Woven Paper (130 GSM) – £2.00 / £4.00 / £8.00 (Q5)
- Fine Linen paper (130 GSM) – £2.00 / £4.00 / £8.00 (Q6)
Connecting to the VDI
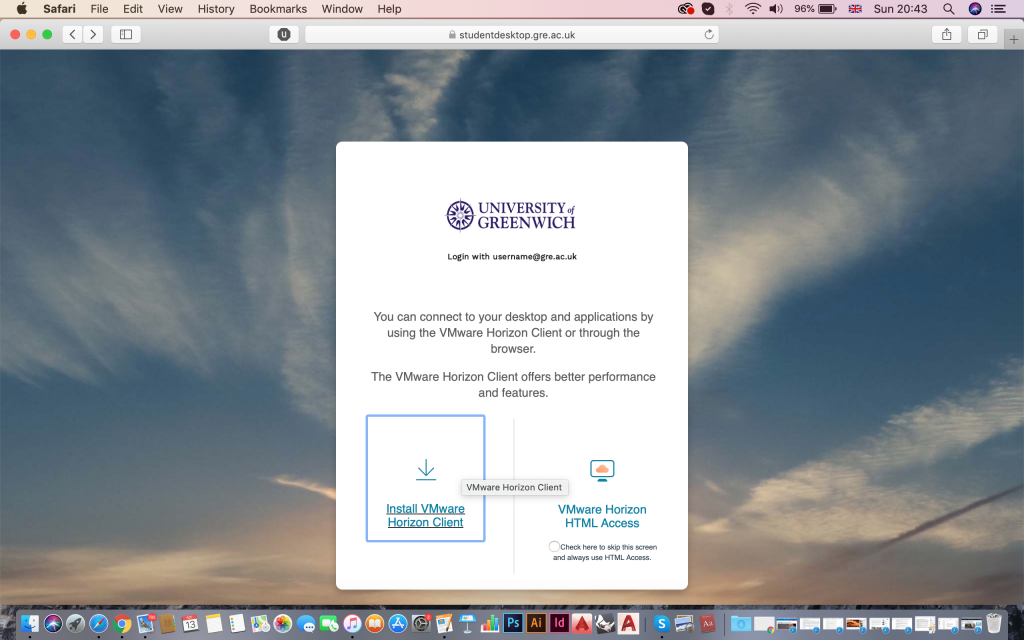
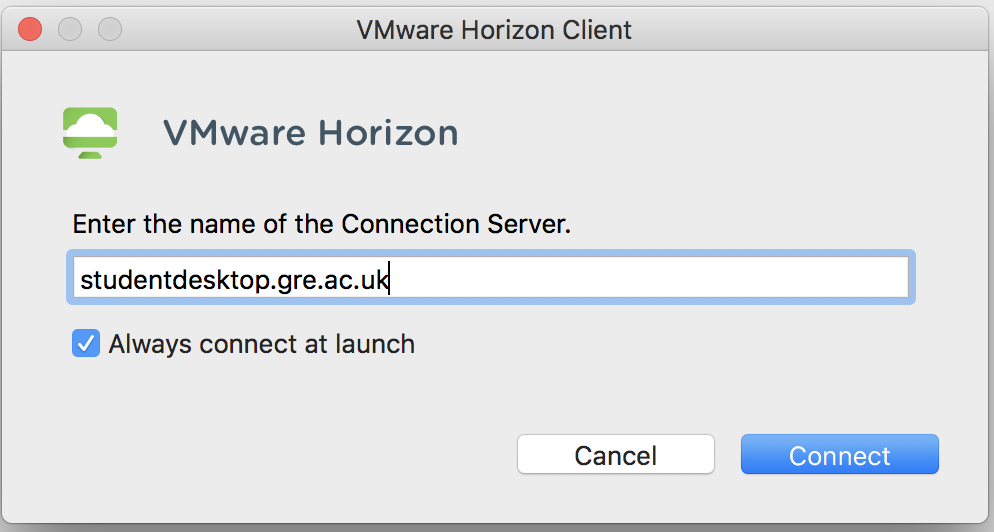
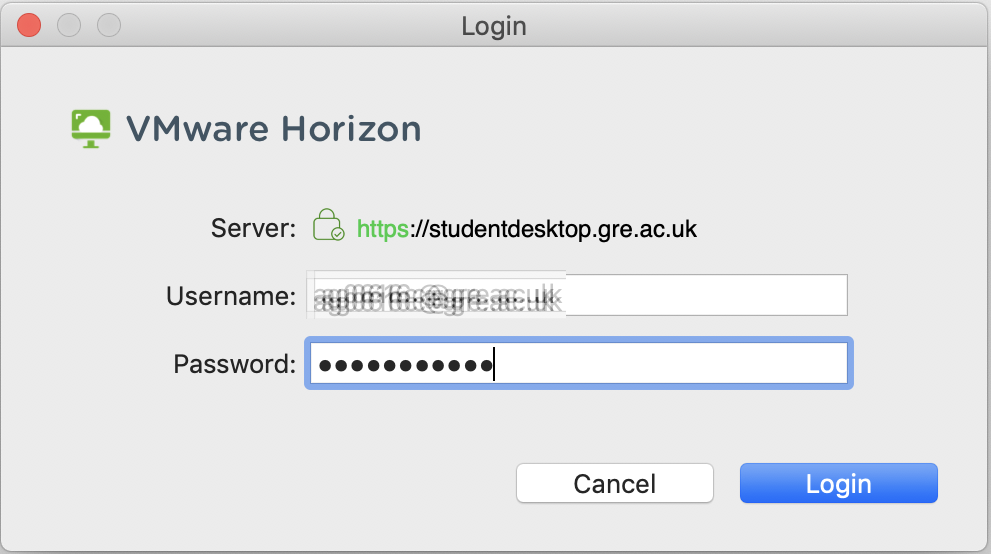
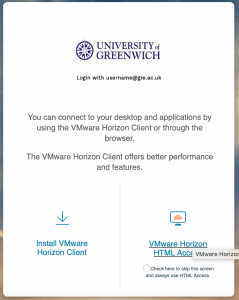
From your own machine visit the following site:
studentdesktop.gre.ac.uk
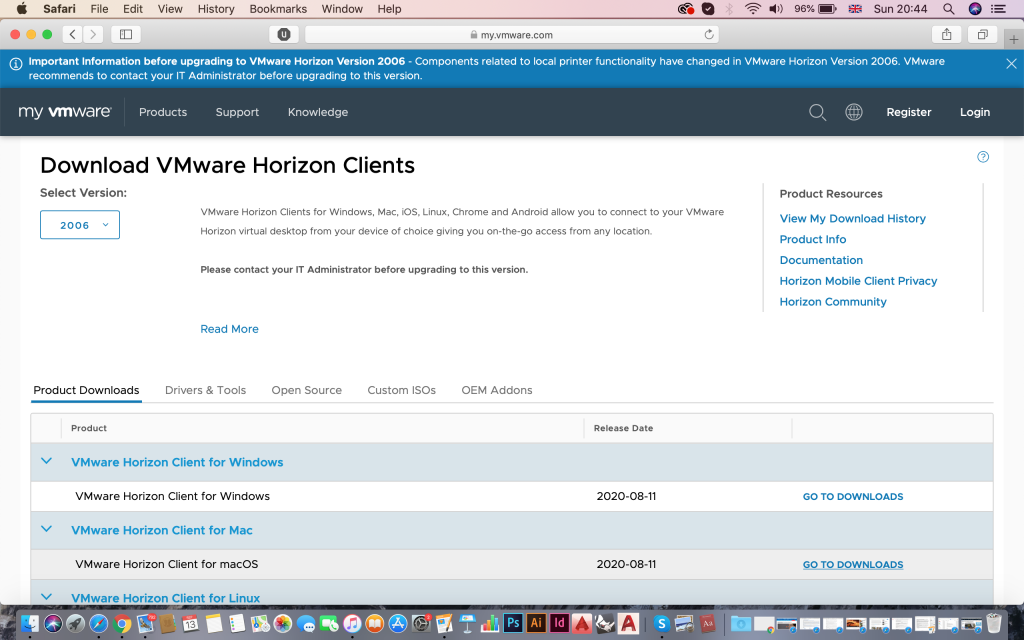
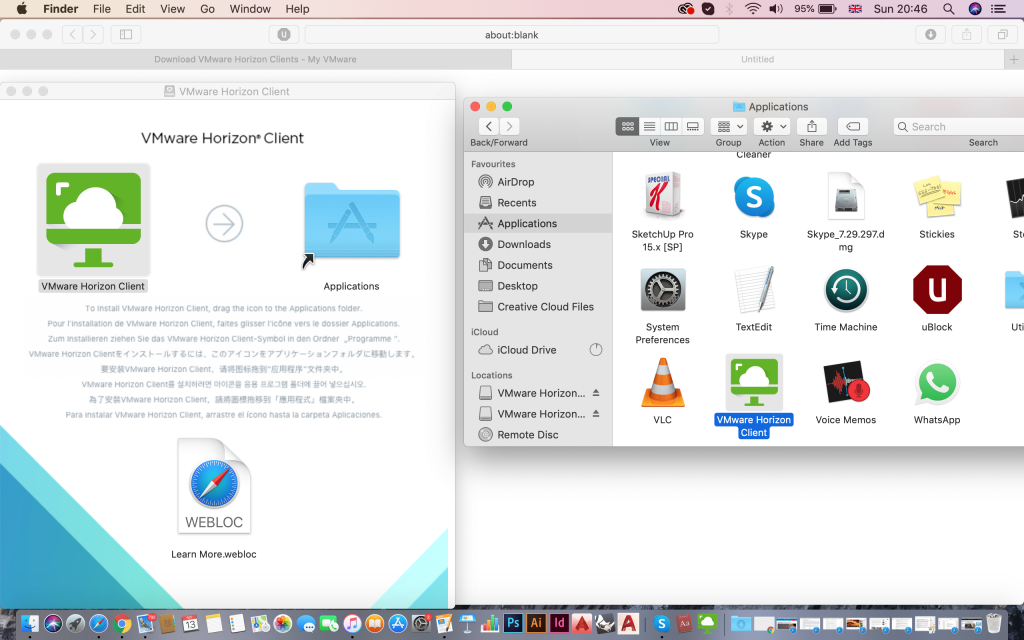
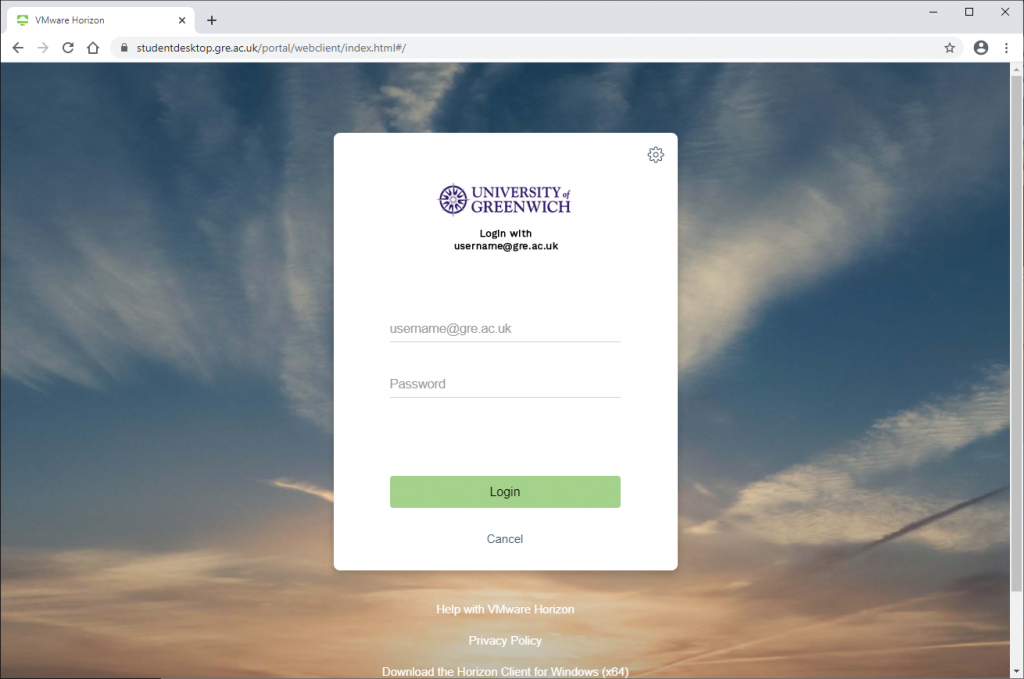
And choose VMware Horizon HTML Access (you could also connect via the VMware Horizon Client if you have it installed already)
Accept the terms of use and login with your University ID in the form of ab1234c@gre.ac.uk
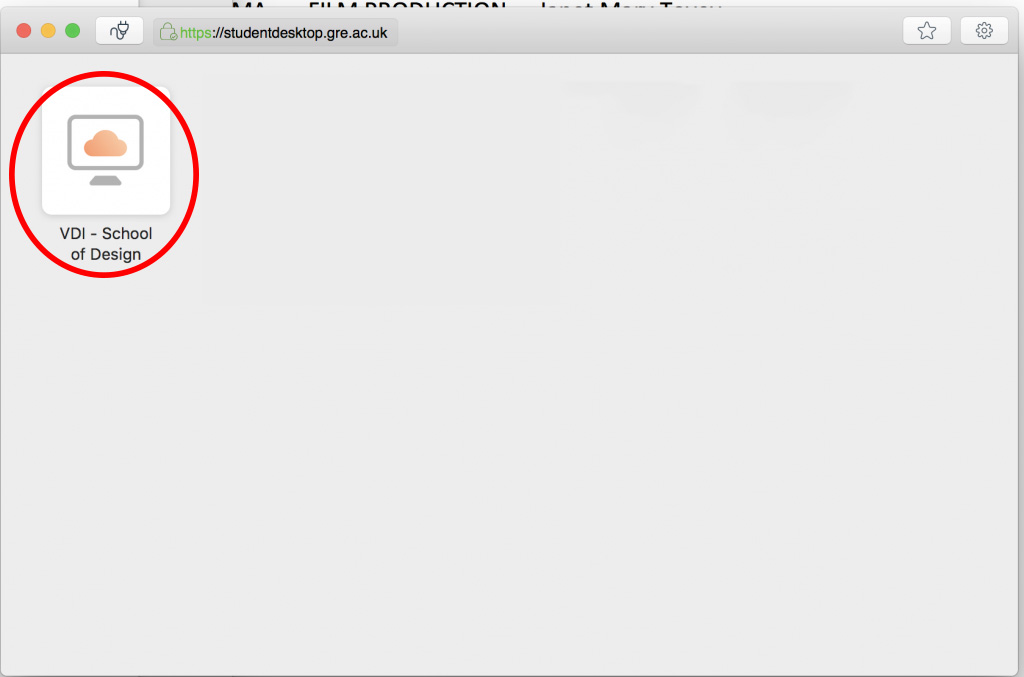
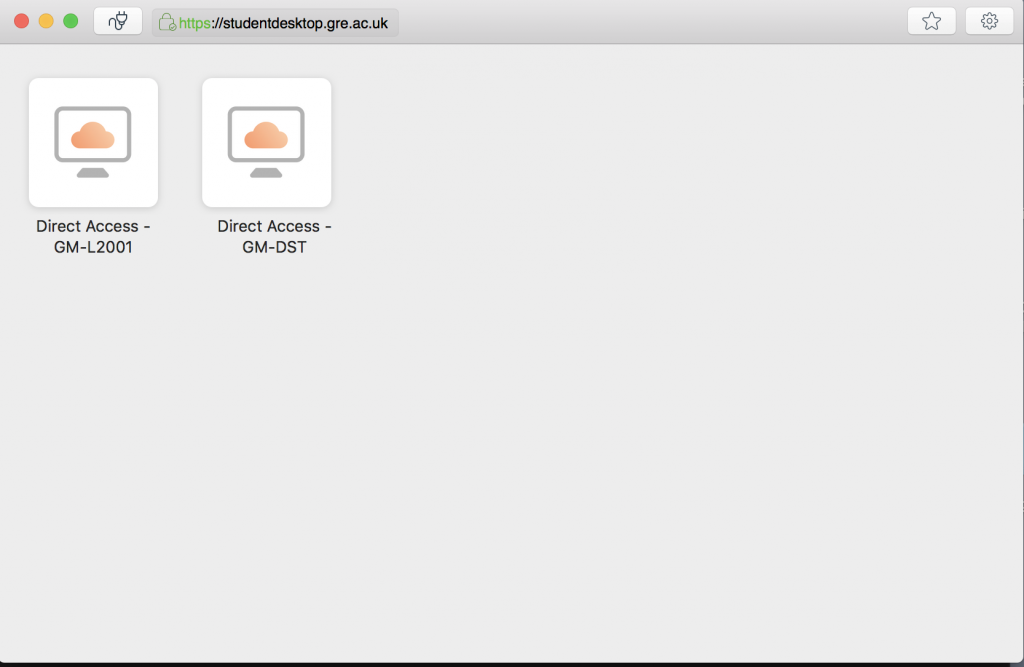
Choose
VDI – School of Design.
After a few moments you will be logged into this virtual machine within your browser window

Sending your Plots
Locate the PDF files you have prepared for printing from your OneDrive or other cloud space.
Once you have your files, open them in Acrobat Reader by right clicking and selecting Open With > Acrobat Reader DC. (Say NO if asked to make Acrobat Reader reader the default, and allow)
(Just double clicking the PDF will open the file with MS Edge which is more tricky to plot correctly from)

Once you have your file open in Acrobat Reader choose FILE – PRINT and pick the printer queue you want to send to:
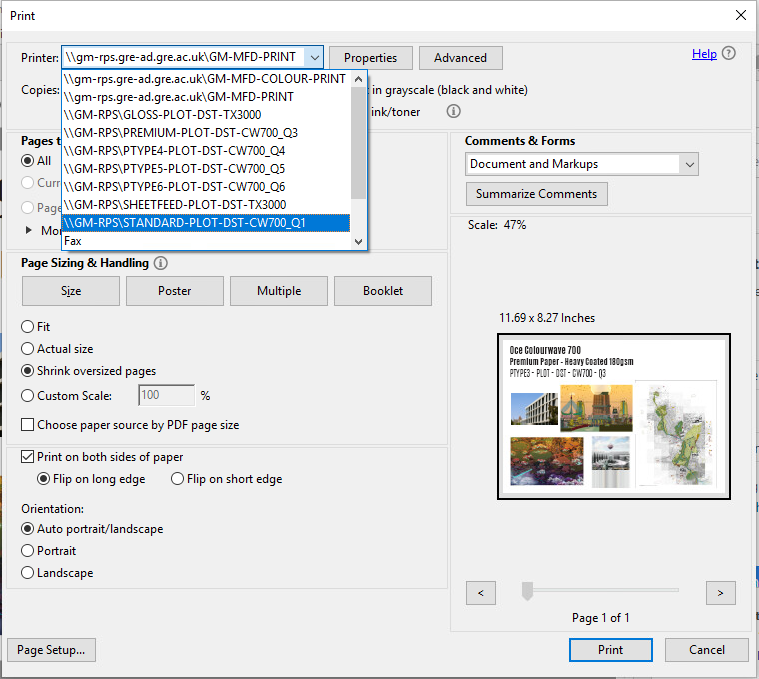
For the regular paper plots (120gsm / £2.00 per A1) choose:
\\GSM-RPS\STANDARD-PLOT-DST-CW7001_Q1
Then specify size by selecting PAGE SETUP and picking the size from the drop-down
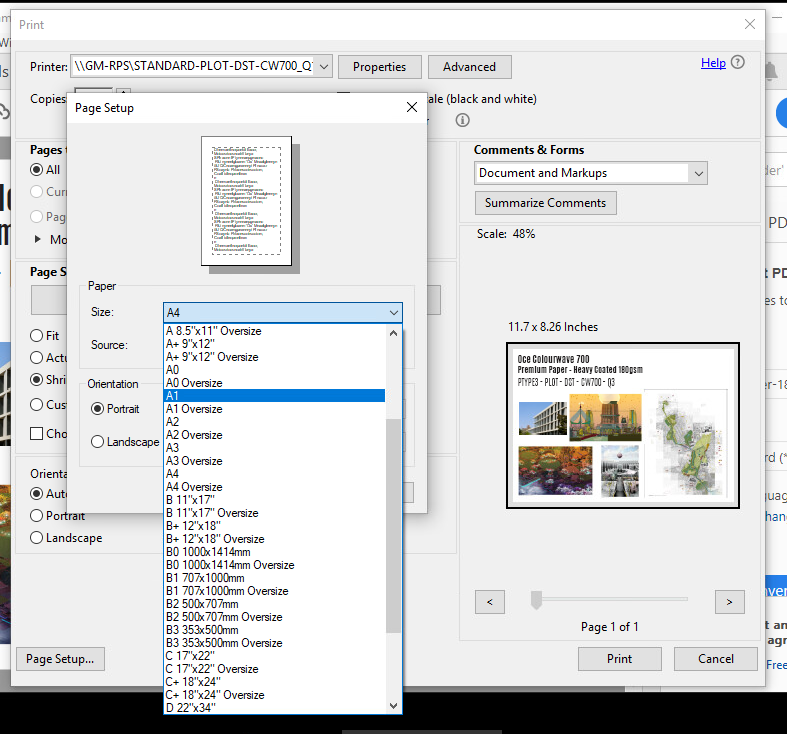
Choose the size you want and then OK back to the main print page where you can see a preview indicating how your file will fit on the page. (You can choose FIT to scale to the page size but it is better if your document is correctly sized)
When you are happy then click print to submit the PDF.
After a few moments you will see a pop-up confirmation window that gives the price you will be charged (due to the way the area of plot is calculated the figure is not a round figure)
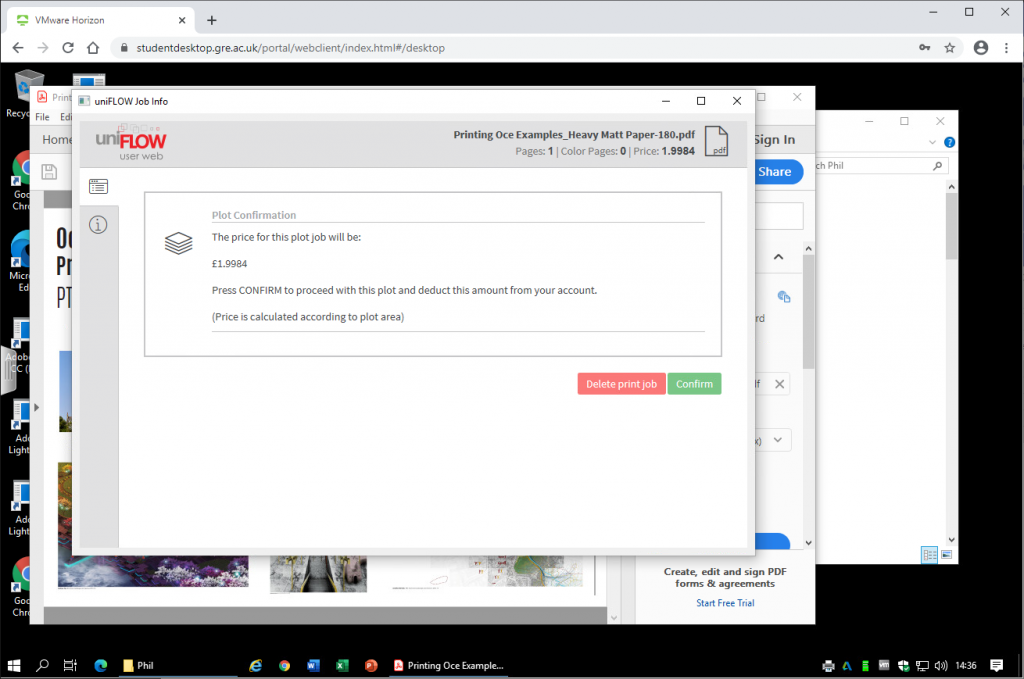
If the figure looks right then click CONFIRM. You will receive a message if there is not enough money in your account and the plot will not go through; you would need to send again after you have topped up your account.
You can monitor the progress of the plot by visiting this address in the browser window of the VDI session:
172.16112.21
Once the file disappears from here it is in the plotter’s internal queue
Print Credit
You can top up your print credit online by visiting the printcredit page – note this link will ONLY work from a browser INSIDE the virtual desktop environment, it will not work from your regular browser
Within Chrome in the virtual desktop visit
printcredit.gre.ac.uk
and follow the instructions
Collecting your Plots
The plotter will stop when there is too much paper on top, so plots will be periodically lifted off and put on the bench nearby.
Try not to leave it too long to collect your work – the longer these are left there, the more chance they’ll have of being damaged