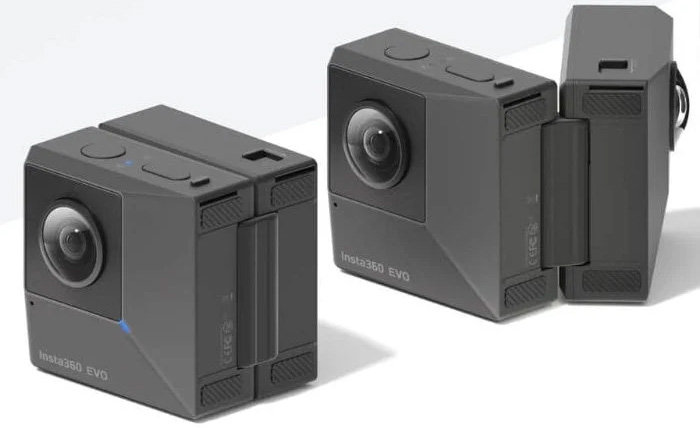
A brief guide to uploading VR video to Youtube using an Insta360 EVO camera, the Insta360 Studio software and Adobe Premiere Pro.

The insta360 EVO camera is capable of shooting video and (HDR) stills, both full 360° and 180° Stereoscopic modes. In this guide we will just be using 360° outputs – with a small mention to Stereoscopic when applicable.

First you need to capture some footage; stills or video is fine. You will need a fast micro SD to capture 360/Stereoscopic imagery, cards with a write speed or 60mb/s or above work well. There are two shoot configurations: camera folded closed is for 360° and open is for Stereoscopic. Choose appropriately and lock it in position with the sliding locks.
To operate there are only two buttons on the camera. The round button turns the camera on/off with a long press, plus it is your shoot button with a short press. The rectangle button switches between stills and video.
It is recommended that you download the free Insta360 EVO app for a phone or tablet for full functionality. The app connects to the camera via wifi and offers a full range of control that is quite self explanatory. By default the footage will be stored both on the sd card in the camera, plus your chosen device.
Recording tips. The camera has a built in stabilizer which works well but will not be enough to fully negate a walking motion. If possible use a handheld stabilizer also.
Transfer the files to your computer via a USB cable direct from the camera or via your tablet/phone, then download and install the Insta360 Studio desktop application for Mac or PC:

The studio application is quite useful and can be used to skilfully choreograph a curated journey through your captured environments. Here is an example from an exhibition filmed in Hastings at the studio of Jim Hobbs:
Moribund State[s] – Documentation of Exhibition from Jim Hobbs on Vimeo.
For this guide we only need Insta360 Studio for two reasons. Firstly the install includes a plugin for Adobe Premiere Pro (PP). This allows you to open EVO video files with PP without the need for conversion plus adds Gyroscopic Stabilisation as an option within your source settings. Secondly if you chose to take pictures rather than shoot video, you can use the Studio app to convert the pictures into a more versatile format. This also combines the separate HDR images into one.
In the demonstration video below we (quite quickly) ran around the University building taking 360 pictures at various locations, as we were toying with ideas of how to make a virtual tour video. Once converted to jpegs the images where imported into PP.
Note: do not crop the images as this will break the VR experience.
If you wish to overlay text at all then you’ll need to locate it fairly centrally, if placed towards the top or bottom of the image the text becomes distorted and may be difficult to find in VR mode.
On a desktop computer you can you your mouse to drag around the images to explore the rooms. When using the your smart phone you also have the option to pan/tilt your phone in your hands to navigate. If you have access to a Google Cardboard type VR headset, you have the option to explore the environments this way also.
Exporting
These settings work well for exporting media: first set the format to: H.264

Then scroll down the the bottom of your options and ensure the VR box is checked. This is also where you would select either Monoscopic or Stericopic output. This adds the required metadata for VR use.


