
Start 3DS Zephyr Free
and choose Workflow – New Project
There are a few steps in the photo to 3d model operation; you can choose to carry out all of these in sequence for you by ticking the “Compute 3D Model
after project creation” and “Compute Texture after Surface extraction” options.
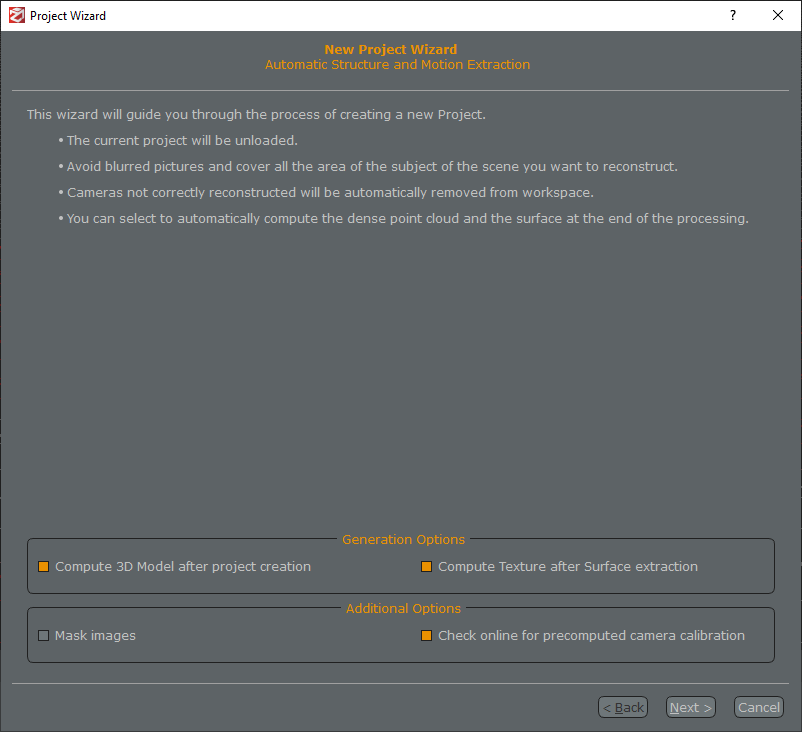
(Note, although it is more convenient to do these all in one go, working through stage by stage does give you more control and it will let you spot and fix problems earlier on)
Hit Next to show Photo Selection – just drag your photos into this panel (50 photos maximum with this version of Zephyr).
– Zephyr also has a neat tool here that lets you bring in a video you might have made of your subject (or rather it will let you bring in a video file, extract still photos from it and then use those photos). Be careful with video imports as they tend to be more blurry.
Hit NEXT to proceed until you get to the orientation presets panels. This is where you describe the project and how detailed you want it.
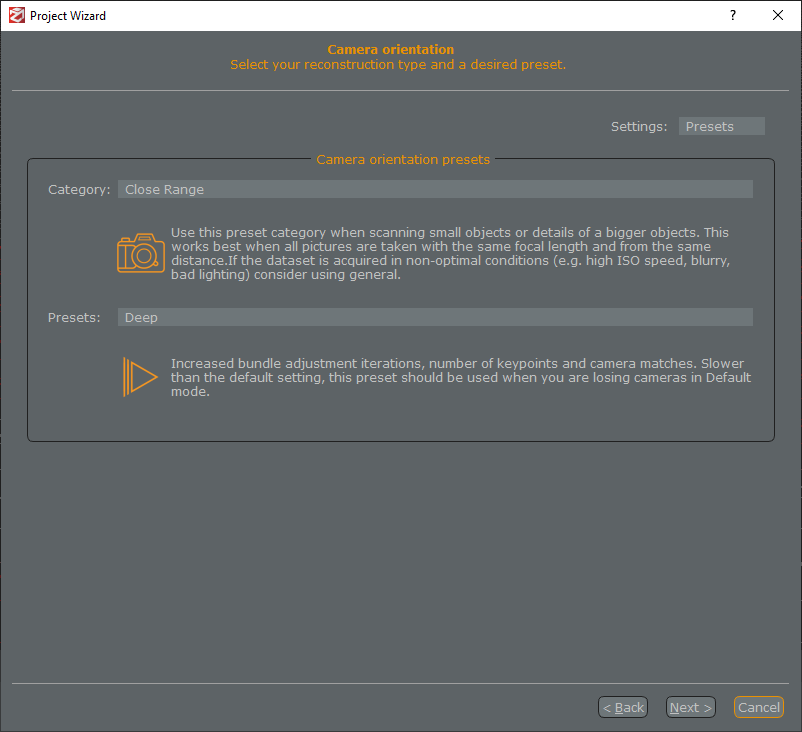
The categories of
• General
• Close Range
• Aerial
• Urban
• Human Body
do work well as described but if one set gives bad results try experimenting; CLOSE RANGE / DEEP is the most successful – but longest and most complex combination
The different levels of preset will obviously affect time taken and complexity achieved – but be aware pushing up the detail levels is not the answer to a bad set of photos.
Click RUN at the top of the final panel to start the process. This can take a while but you can launch multiple Zephyr instances again and again to have it working on more than one model.
All being well you will eventually see a 3d model generated from your set of photographs. You can pan and zoom around the model (or right click – camera – view from – front / left / top etc.). There’s an EXPORT – SCREENSHOT if you want to grab a snap of your model at this stage.
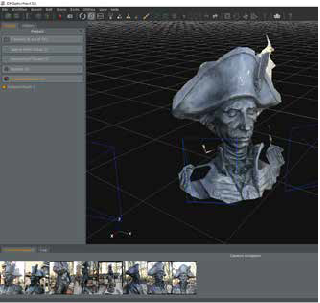
In the example here the software has only detected common points with 8 out of the 31 photographs taken – it has not reconstructed the back of the statue, there area some holes in the model and some of the background has
bled into the hat. It may still be usable but you can see that if the photographs were better lit, better focused and more composed (with less noisy backgrounds) the results would be much better.
There are a lot of tools within Zephyr to let you do some repairs on your model; use Tools – Selection – Manual Selection to pick and cut parts you do not want; this is very useful. Also (clumsy) hole filling tools for patching gaps.
The Mesh Decimation filter is an essential one for simplifying meshes – so they are handled better by Rhino, etc. You can lower complexity and keep perfectly fine models.
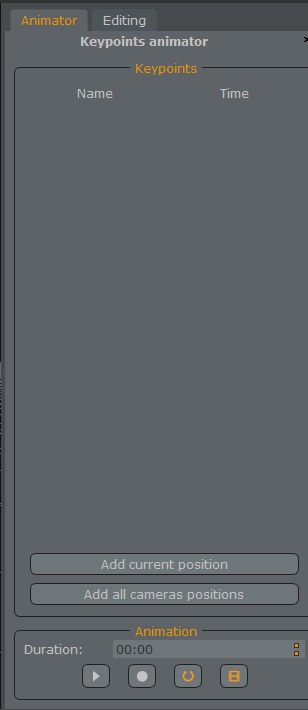
On the right hand side of the Zephyr screen there is also a basic keyframe animator, so you could make a quick fly-around of your model. Click Add all camera positions, then the play button. You can export this by pressing the Record button.
To export your model for use in Rhino, 3Ds, Sketchup, etc. – or to send it
for 3D printing choose Export – Export Textured Mesh, or – Choose Obj/MTL for the output format (this will work fine with 3D applications)
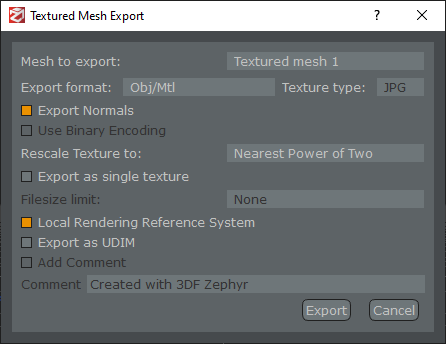
– Click the Local Rendering Reference System box
then select the folder you want to output to – it will create a mesh, and
the files needed to wrap the textures around your object. Leave these all
in the same folder.
This OBJ file is now ready to open / drag into, for example, Rhino – though it will most likely be requiring rescaling to ensure it is proper size.
This full export will actually consist of 3 files – the model and also the files that describe the texture wrapped around it. These files should all be kept together otherwise the model will just render with no texture


