


Availability / usability:
- This software is not installed on the University machines but it is possible to download a 30 day trial version from Faro.
- It is not a straightforward operation in Faro Scene – but it does feature quite a good point cloud to mesh converter.
Operation guide:
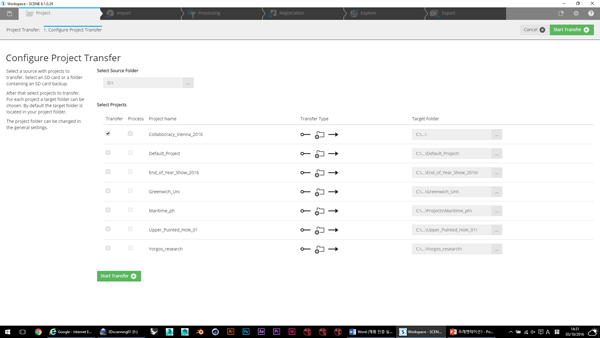
Open Faro Scene. Then input the SD card from the scanner into the PC. A ‘Project Transfer’ window in Scene should appear. Press YES to import scan data. This can take a few minutes, depending on how much info there is on the SD card.

Name your file and select where to save the scans.
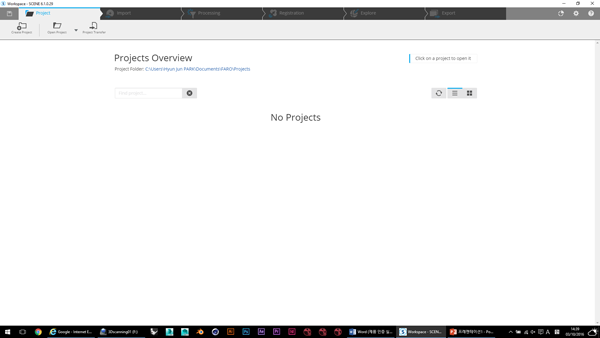
Find your target folder.
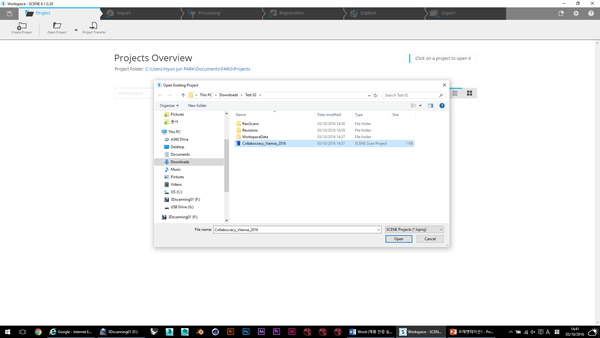
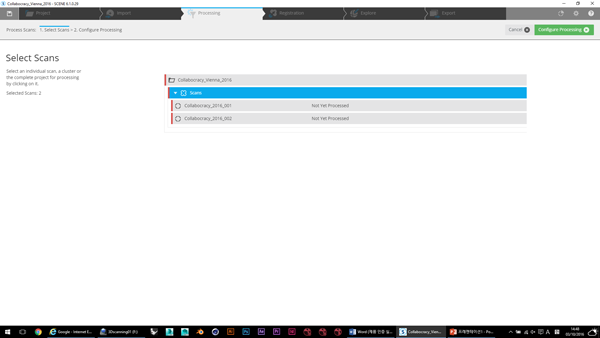
Select the file that you just set up .
Select your scans.
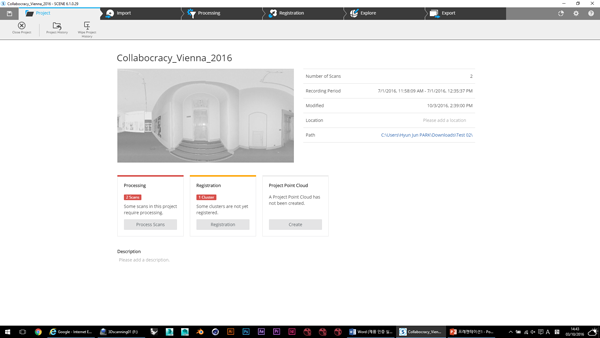
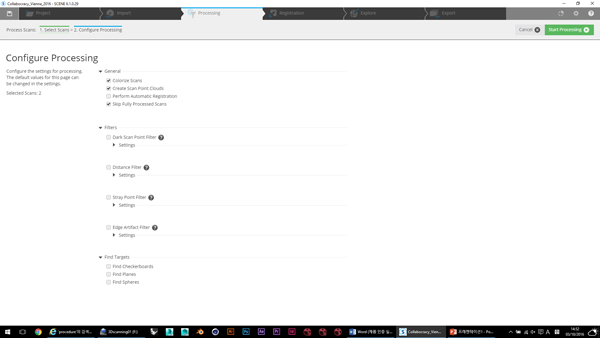
Continue clicking through and processing your scans.

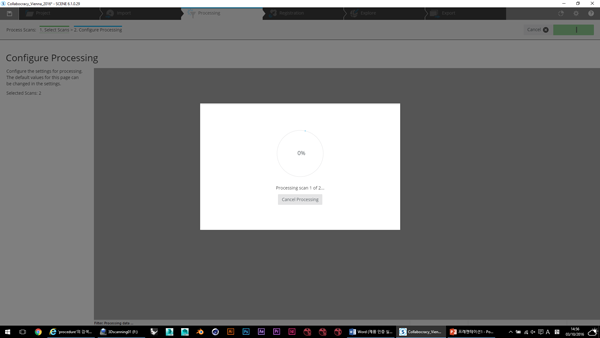
Your scans will be processed and registered – this can take a few minutes / sometime hours depending on the number and quality of your scans.

Once complete, notice that the ‘Processing’ window has gone green. Now we need to ‘Register’ (ie. stitch) scans together if you have produced more than one scan.
Registration. In this exercise we are stitching 2 scans together.
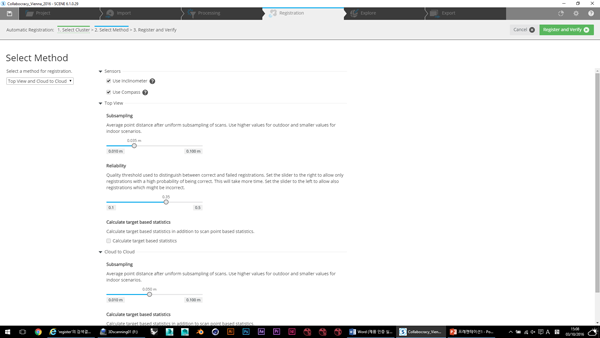
Continue Registration.
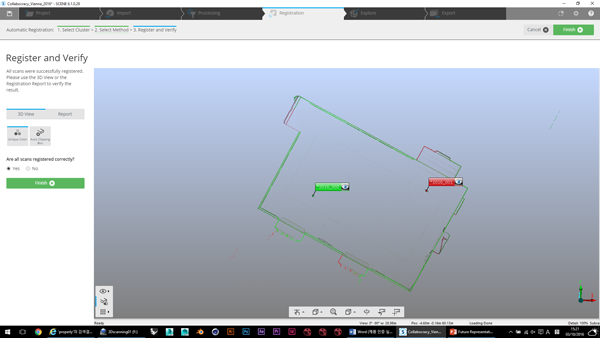
Continue Registration and Verification. You can see that the 2 scans join to create 1 space.
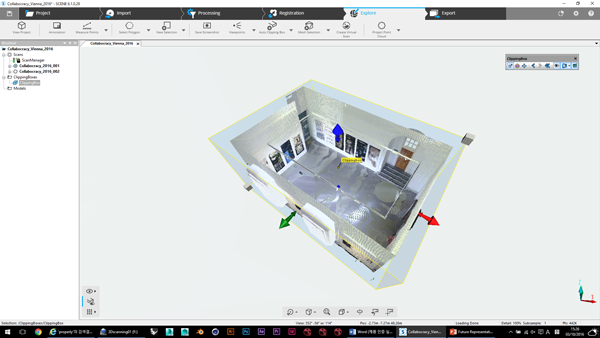
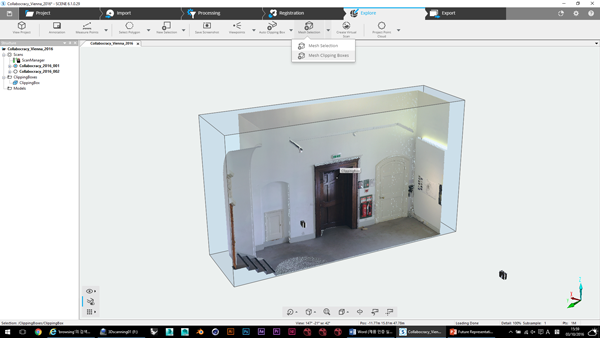
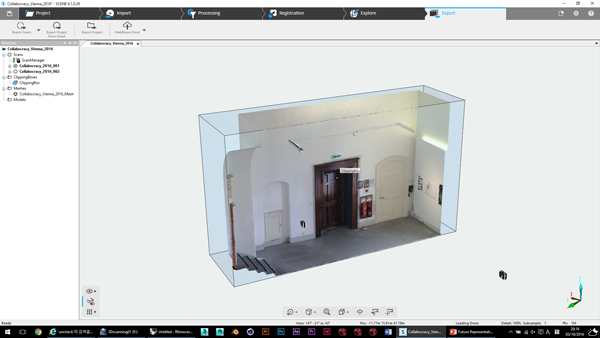
You should see a lo-res preview of your scans stitched together. Use ‘Clipping Boxes’ to hide any unwanted scan data (ie. scans of data outside of the room, through windows etc.)
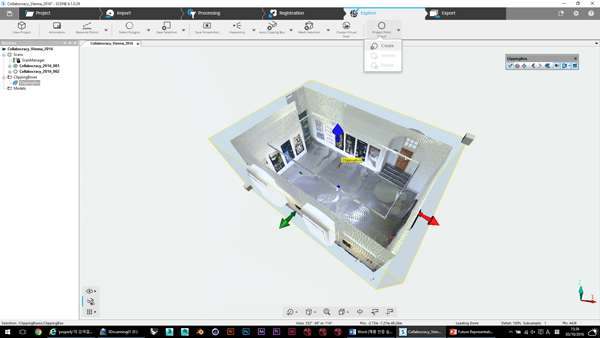
Create a Project Point Cloud from your stitched and clipped model.
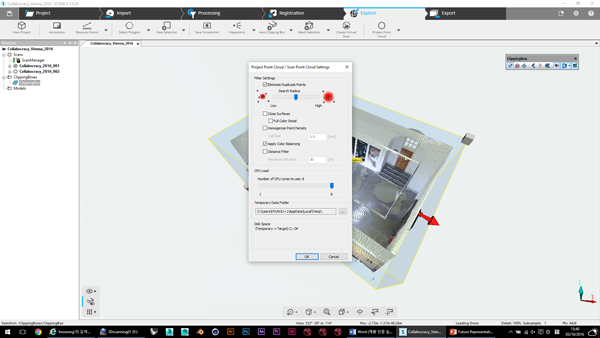
Continue to create a Project Point Cloud.

Once created, go back to the ‘project’ tab – all 3 sections should be green and you have finished the registration / processing stage.
There are 2 ways of outputting your model into other 3d programs:
– As a mesh model with edges and surfaces
– As a point cloud (points in space).
Create a mesh for export
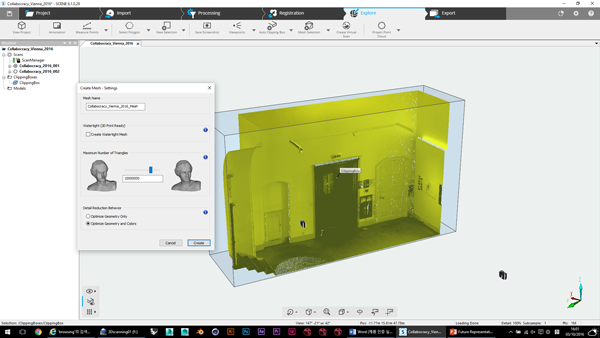
Continue creating a mesh.
Continue creating a mesh.
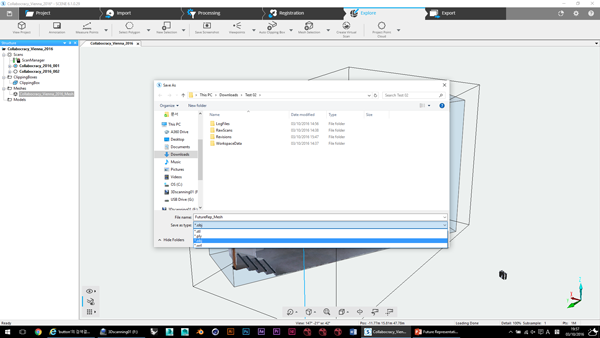
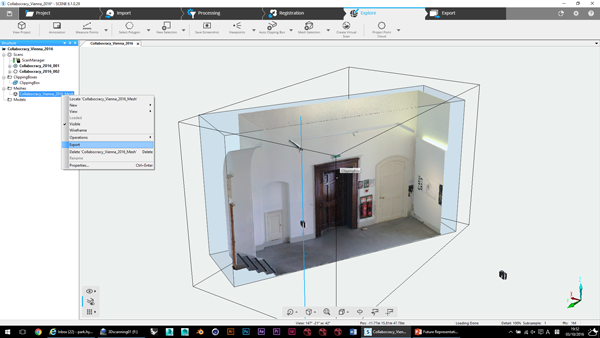
Save your mesh as an ‘.obj’ file type.
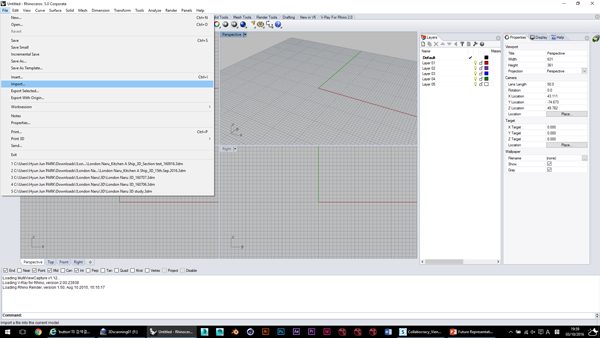
This .obj file can now be opened in Rhino, 3D Studio Max, etc. as an editable mesh.
Export the point cloud
In the Export tab, select ‘Export Project Point Cloud’.
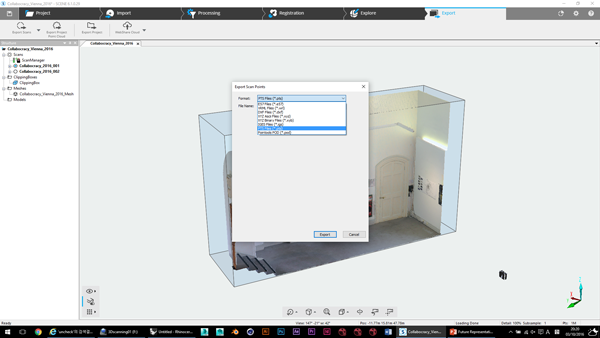
Select PTS Files.
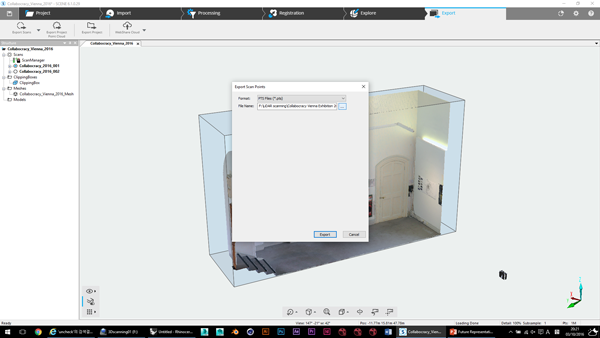
Select target folder, and export your point cloud file.