Availability / usability:
- This is free, open source software available from www.meshlab.net
- MeshLab does have the function to convert a point cloud into a mesh but be warned – it can take a long time, it will often crash and the results may not be as good as you would like. As point clouds typically are very large and data heavy some of the steps here are about reducing complexity.
Operation guide:
You will need to have exported your point cloud from Recap as a PTS file – though for MeshLab to import it, it needs to be renamed as an .ASC file. Browse to where your PTS file is and click to select it

Then at the top of the explorer window choose DETAILS and tick the box FILE NAME EXTENSION
Your PTS file will change from whatever you called it to the same name but with the letters .PTS after it.
Right click to rename the file – and change that last .PTS to .ASC – for example if your file was called MyFile.pts it should now be called MyFile.asc
Now open Meshlab and choose Import Mesh. Then browse to your ASC point cloud file and select that. Accept the default import options. Wait
Once it has imported successfully then you need to do three operations:
1. Compute Normals:
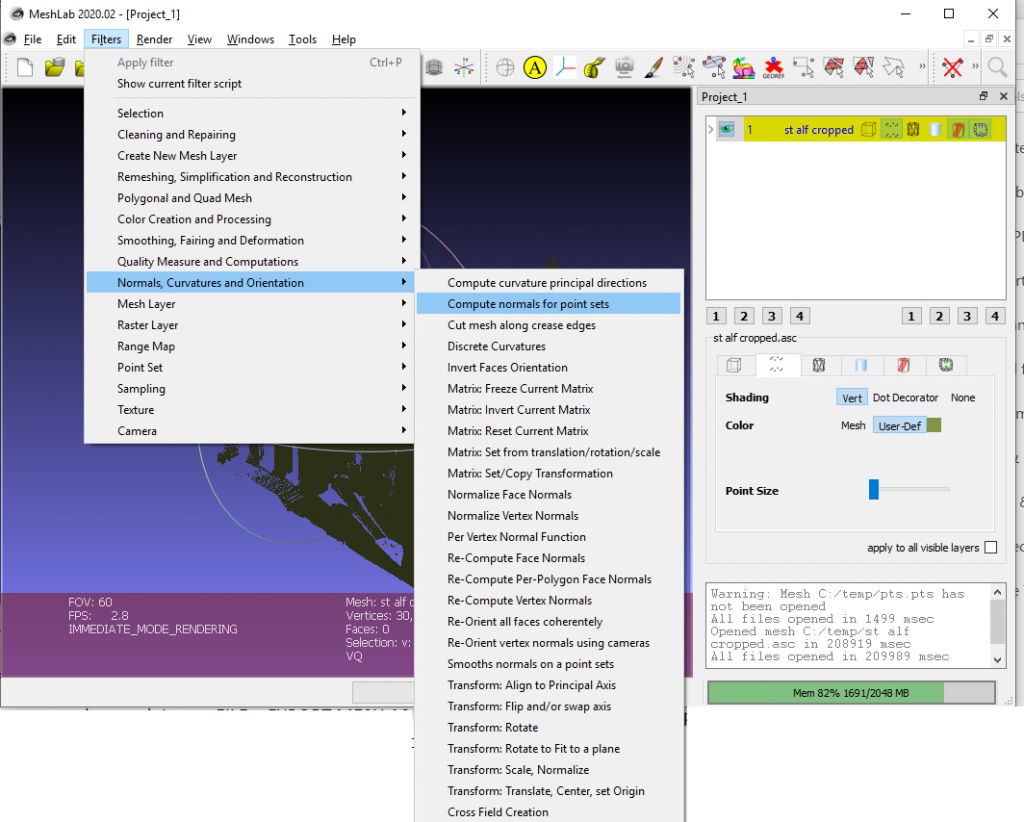
Filters > Normals, Curvatures and Orientation > Compute Normals for Point Sets

– Accept the default settings by pressing Apply. Wait
2. Optimise your point cloud
Reduce the density of the point cloud by choosing
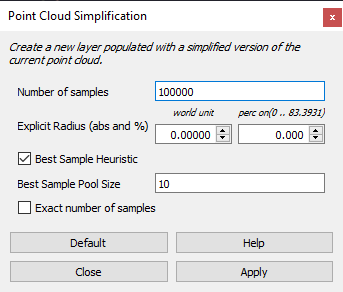
Filters > Point Set > Point Cloud Simplification

In the Number of Samples field pick somewhere between 100000 (quicker, less detailed) and 1000000 (slower, bigger but more detailed). Click Apply. Wait
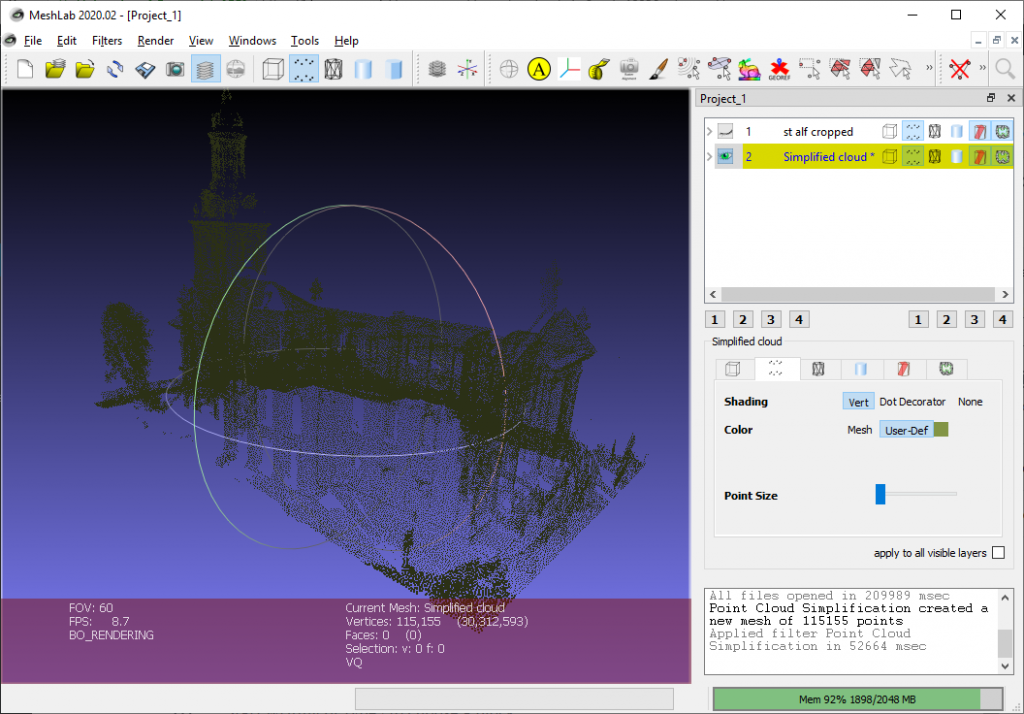
You will now see two versions of your point cloud scan – the original and the reduced version

You can switch them on and off (like Photoshop layers) in the right hand panel. Also you can drag the point size lower to get a clearer view of your scan.
3. Convert the optimised point cloud to a mesh
Click to turn off the original point cloud, leaving just the optimised version on and selected. Then Choose
Filters > Remeshing, Simplification and Reconstruction > Surface Reconstruction: Ball Pivoting
Accept the defaults and select Apply. Wait – potentially for a while
After the process is complete you will then be able to view your mesh – if it is too poor quality you could try again by optimising the original point cloud with a higher sample count.
When you are happy with the result export the mesh using
FILE > EXPORT MESH AS
and choose an appropriate file type – OBJ would be suitable for bringing into Rhino, Blender, 3DS etc
NOTE: when you bring your mesh into your 3d application there may be “back to front” sections; in Rhino these will show up as darker patches. To unify these normal, issue the command
UnifyMeshNormals
and select everything. This will flip all back to front faces in the same way.


