Note the instructions below assume you already have a database setup on the MySQL server. Please see the MySQL support pages for details on how to get a MySQL database setup.
To connect to your MySQL database bring up Server Explorer either by clicking on the tab next to the Toolbox or by going View > Server Explorer. Right click on ‘Data Connections’ then click ‘Add Connection…’

On the next screen (titled ‘Choose Data Source’) change the data source by ensuring ‘MySQL Database’ is selected, then click the ‘Continue’ button.

For the ‘Server name’ enter mysql.cms.gre.ac.uk then enter your username and MySQL password in the relevant fields. When you have entered these correctly you’ll be able to select your database (mdb_username).

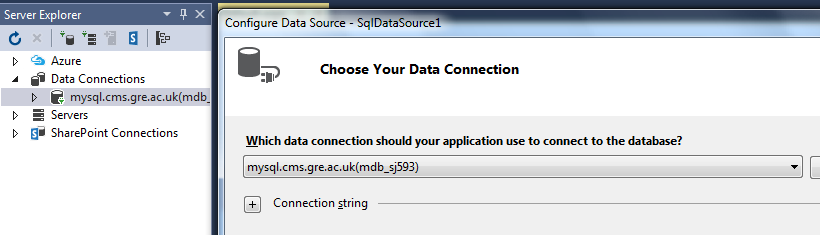
Click the ‘OK’ button to exit the ‘Add Connection’ wizard and you will have added a connection to the database that will appear under ‘Data Connections’ in ‘Server Explorer’, and you can then setup an SQLDataSource using this connection.
Note that you may need to build your queries manually by picking the ‘Specify a custom SQL statement or stored procedure’ option and then building your query manually as Visual Studio will attempt to add elements such as [ (left square bracket) and ] (right square bracket) that will generate errors when processed in MySQL if you use the ‘Specify columns from a table or view’ option.
Once you have built your queries you can use them to populate data controls such as a grid view etc.